1. OpenXava

LeanXcale integrates seamlessly with OpenXava, the open source Java framework, with high productivity, focused on the development of enterprise web applications adaptable to multiple platforms and supports practically all relational databases.
1.1. Register and download OpenXava Studio
OpenXava is free and you can download OX Studio regisgtreing here (or you con use any other IDE like IntelliJ or VS Code).
Go to OpenXava web and register. This can take a few minutes. Once registered, you’ll receive an email with a link to download OX Studio.
1.2. Create a new project
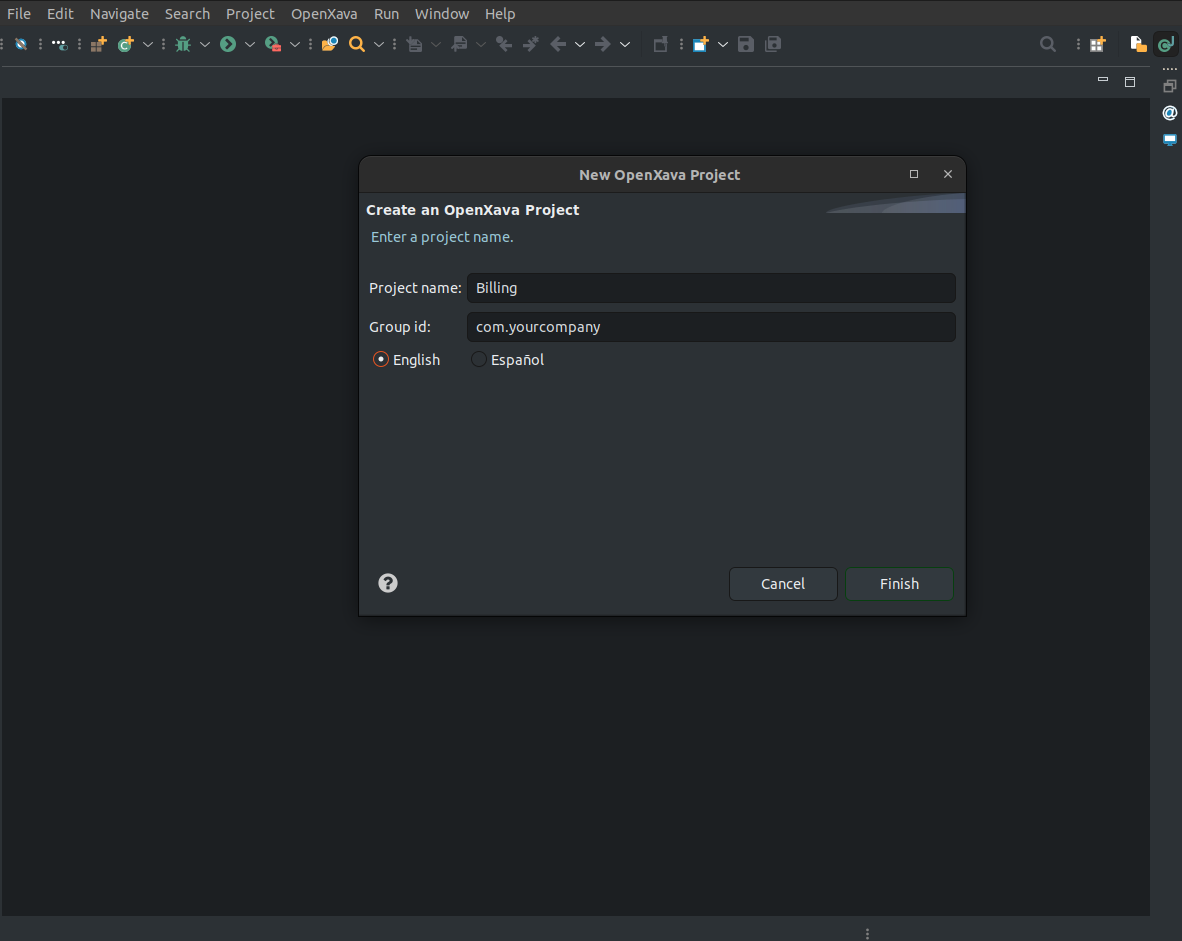
Firstable, click in OpenXava > New OpenXava Project and a pop-up window will appear.
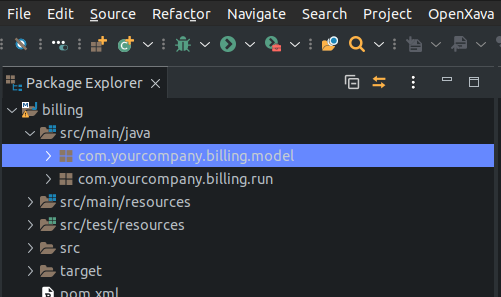
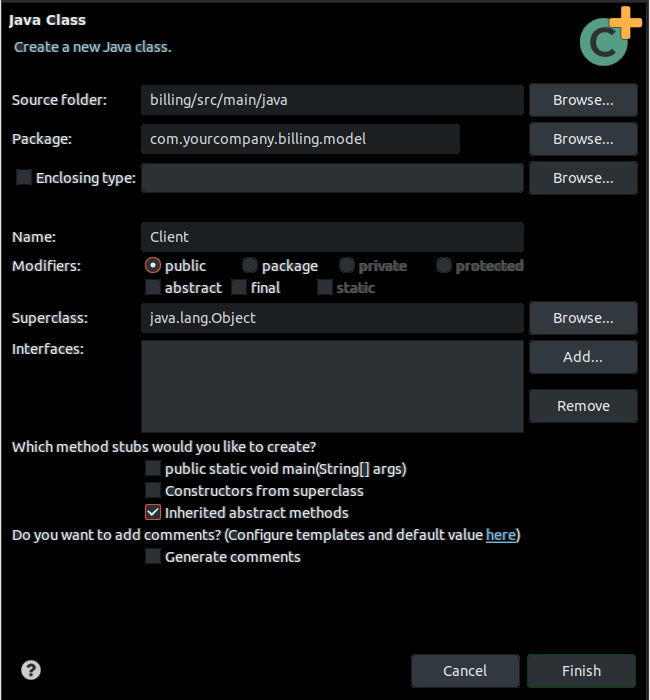
Create a new class Client in the package com.yourcompany.billing.model:
Type Client as class name and click Finish.
Copy following code into class Client:
package com.tuempresa.leanxcale.model;
import javax.persistence.*;
import org.openxava.annotations.*;
import lombok.*;

@Entity
@Getter @Setter accesibles
public class Client {

    @Id
    @Column(length=6)
    int number;

    @Column(length=50)
    @Required
    String name;
}
1.3. Configuring OpenXava for LeanXcale
Edit project file pom.xml, in project root directory. Add the following dependencies inside the section <dependencies>:
<dependency>
	<groupId>com.leanxcale</groupId>
	<artifactId>qe-driver</artifactId>
	<version>1.9.6</version>
</dependency>

<dependency>
	<groupId>com.leanxcale.connectors</groupId>
	<artifactId>hibernate-connector</artifactId>
	<version>1.9.6</version>
</dependency>
In the same file add the following reporitory inside the section <repositories>:
<repository>
	<id>maven-releases</id>
	<url>https://nexus.leanxcale.com/repository/maven-releases</url>
</repository>
Edit project file persistence.xml, located in folder src/main/resources/META-INF:
<properties>
      <!-- ... -->
      <property name="hibernate.dialect" value="com.leanxcale.connector.hibernate.LxDialect"/>
      <property name="hibernate.globally_quoted_identifiers" value="true"/>
</properties>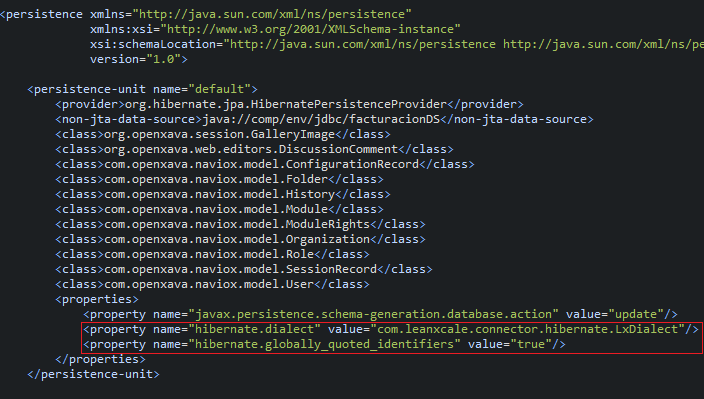
Edit project file context.xml, located in folder src/main/webapp/MEFA-INF:
<Resource name="jdbc/billingDS" auth="Container" type="javax.sql.DataSource"
	  maxTotal="20" maxIdle="5" maxWaitMillis="10000"
	  username="app" password="app"
	  driverClassName="com.leanxcale.client.Driver"
	  url="jdbc:leanxcale://a5357d898f9318f2a75b.lxc-db.com:1522/db"/>
Of course, you need to change those values: username/password (LeanXcale trial version has predefined values as "app"/"app") and url (go to LeanXcale platform to get it).

1.4. Rebuild Project
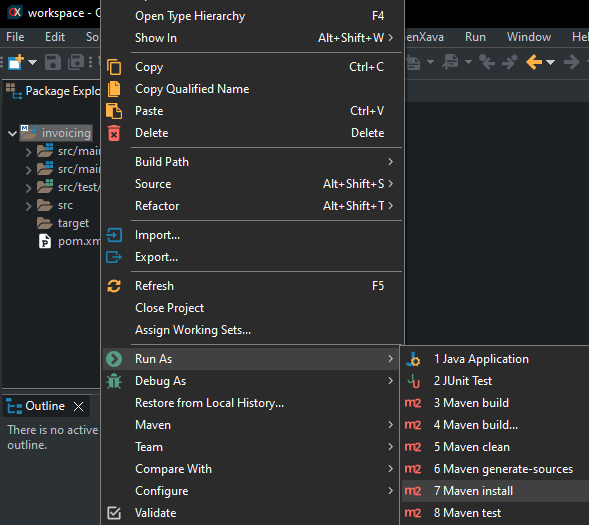
After editing configuration files, you must rebuild your project. In OX Studio, right-click in project and select Run As > Maven install:
1.5. Run App
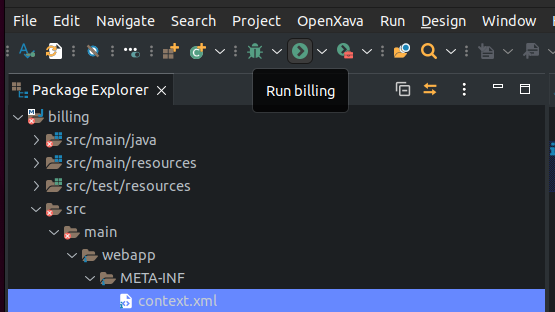
Click button Run:
Wait until console shows a message stating app is initiated:
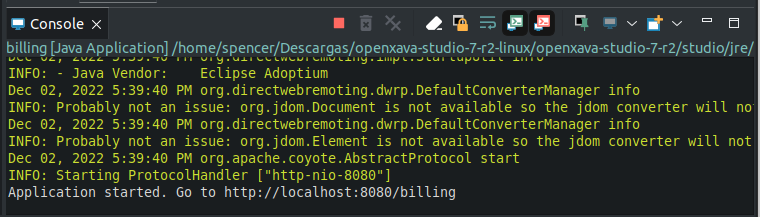
Now, your app is running. Open a browser (Chrome, Firefox, Edge, Safari) and go to URL:
You are entering your app for the first time. Enter admin/admin as user/password.
The left pane will show a list of available modules:
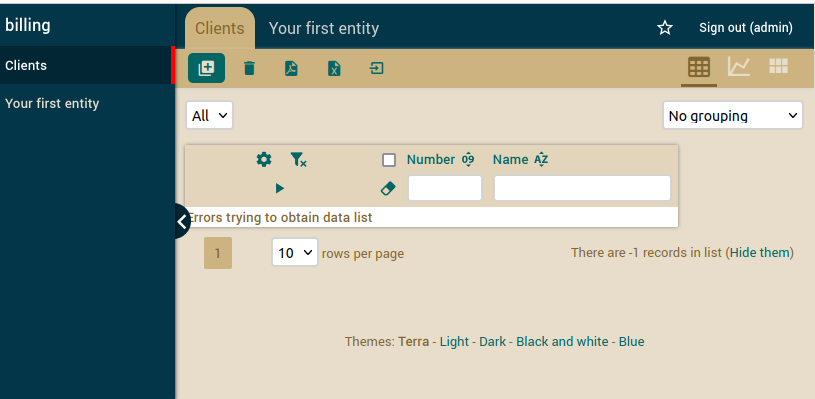
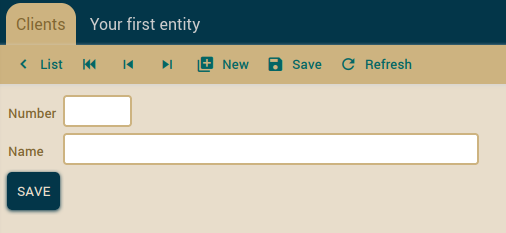
Use module Clients to create new clients; just enter number and name.
You can see the list of clients you just created.
Congrats !! You have your first OpenXava App working with LeanXcale.