1. LeanXcale Glue integration
This document is a practical guide on how to connect Glue with LeanXcale using LeanXcale’s JDBC driver.
Glue offers several connections mode: JDBC, Athena and Spark. At the moment of writing this guide, only JDBC connection is available.
1.1. Upload JDBC driver to S3
Glue needs to have access to the particular JDBC driver, so it is required to upload it to S3.
The driver can be downloaded from LeanXcale Drivers page.
| Make sure that the uploaded driver has public access, or the right permissions to be available for the Glue role. It may also be required to set public the bucket containing the driver. |
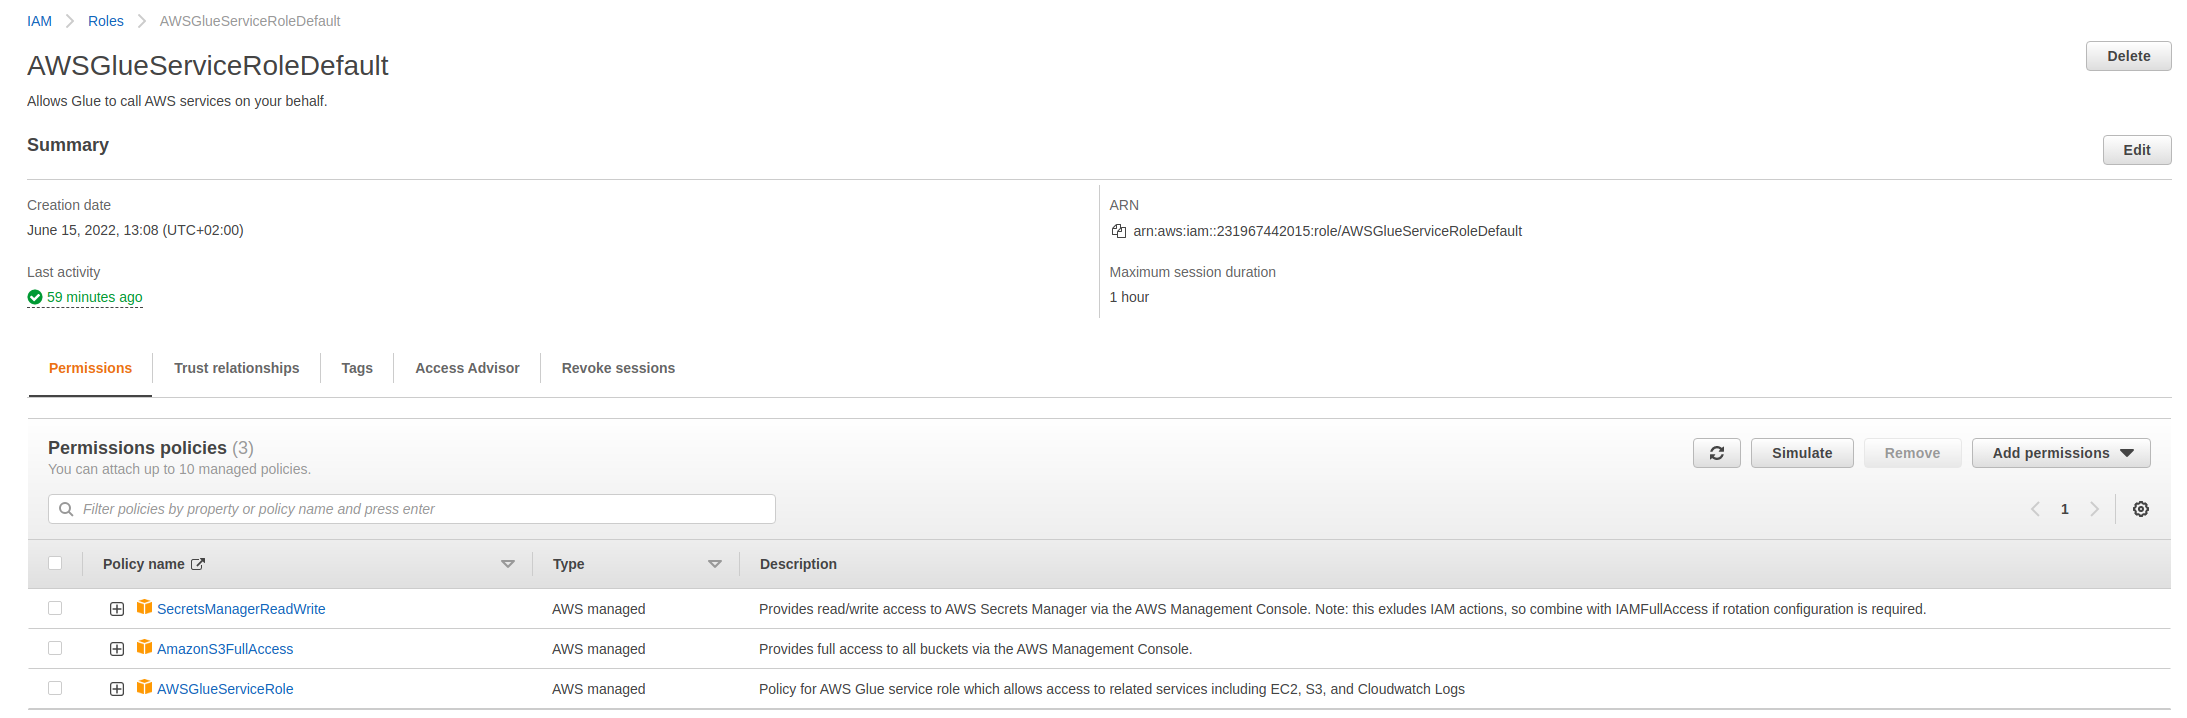
1.2. Create IAM Role for Glue jobs
You need to create a role which has permission to read from this S3 bucket, write to a destination S3 bucket and run AWS Glue jobs. A possible configuration can be the following:
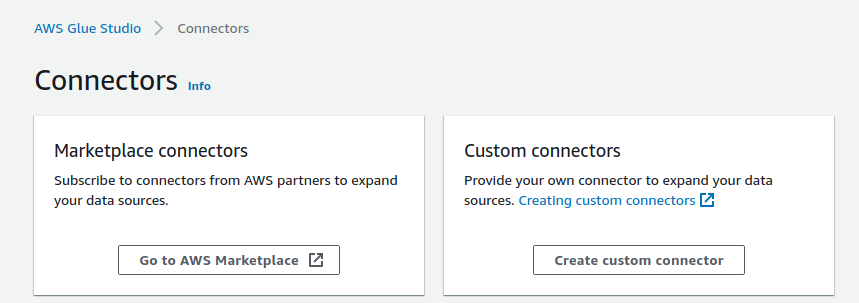
1.3. Create connector
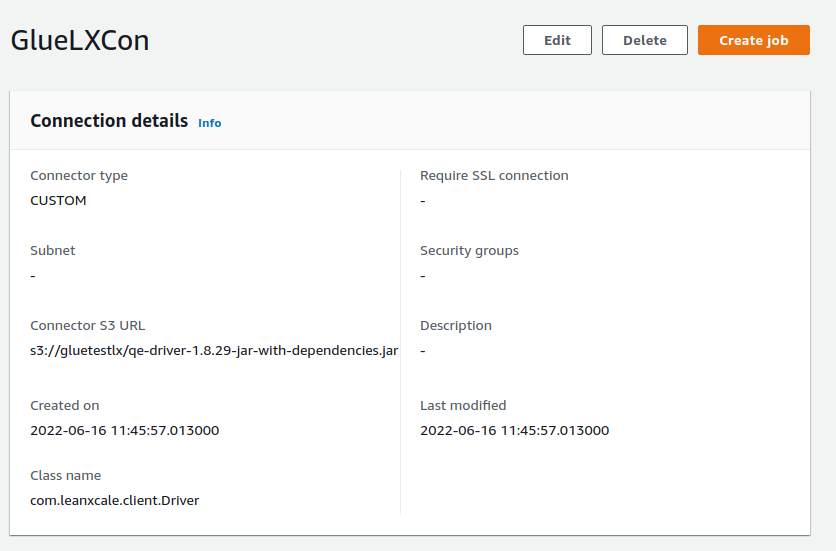
First of all, you will need to create a custom connector.
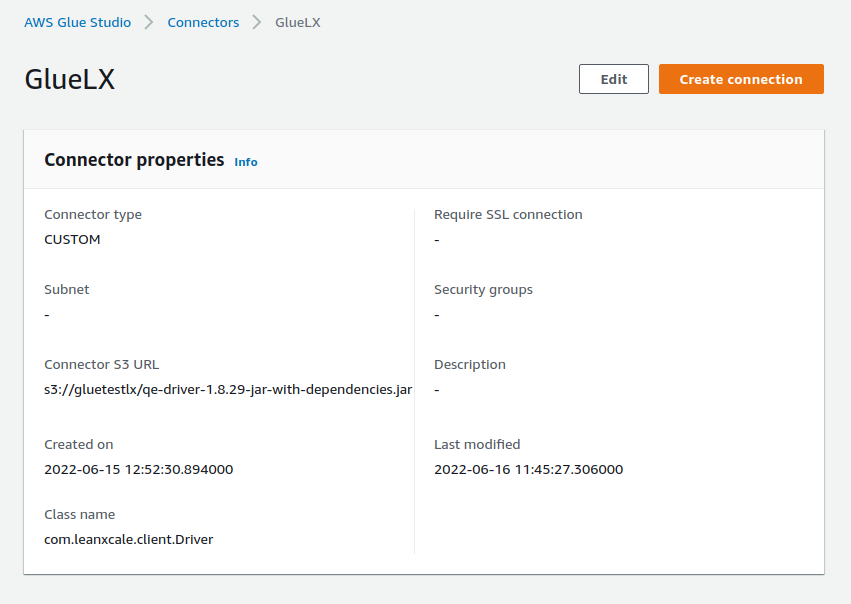
Configure the following points:
-
Connector S3 URL: Enter the S3 location where the LeanXcale’s JDBC driver was uploaded.
-
Name: Enter a name for you connector.
-
Connector type: Choose JDBC.
-
Class name: Set com.leanxcale.client.Driver
-
JDBC URL base: jdbc:leanxcale://<your LX isntance address\>:1522/<your db\>
-
URL parameter delimiter: Use semicolon.
Now, click Create connector.
1.4. Create connection
After creating the connector now it is time for creating a connection. In the connectors page having selected the connector, choose Create connection.
Configure the following fields for the connection:
-
Connection credential type: Choose default.
-
AWS Secret: Here, you will need to create a secret in the AWS Secrets Manager and select it here. Our example is the following.
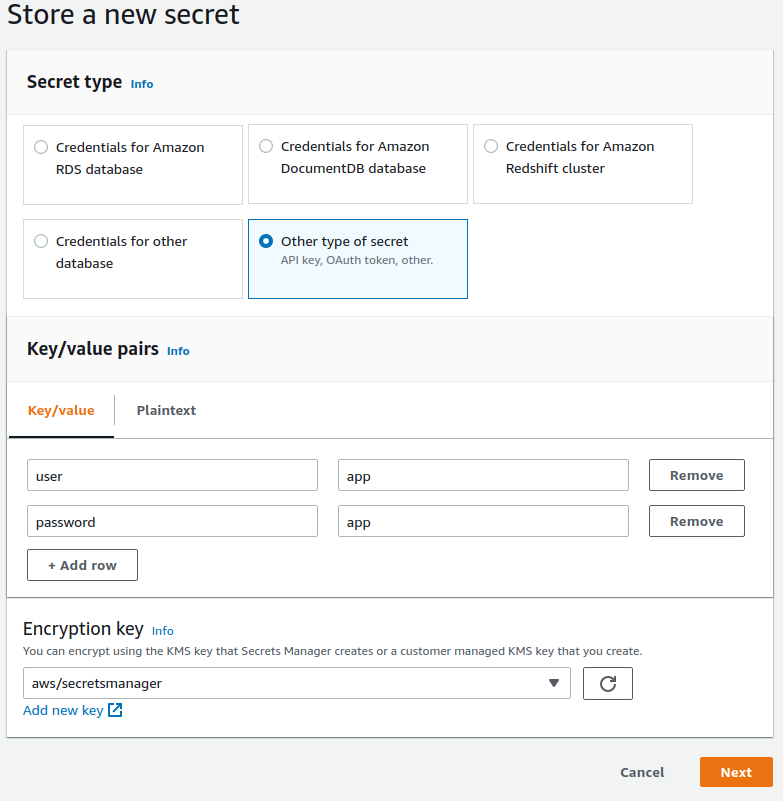
Now choose a name and enter an optional description and after creation, select this secret in the connection’s selector.
-
Additional URL parameters: Here we will add the user and password also, setting it up in the following way:
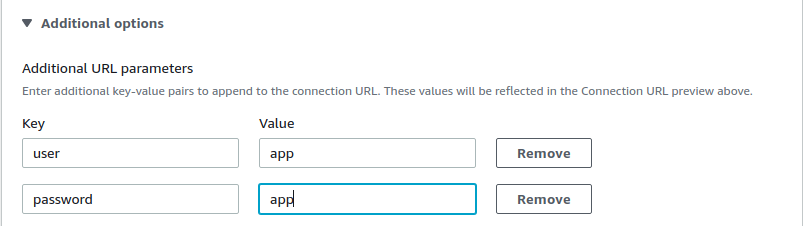
Choose Create connection.
1.5. Create a Job
With the connector and the connection already setup, we can now create a Glue job to interact with our Lx instance. This will be a basic example on reading an storing data from one table to another using LX for both operations.
The setup consists of two tables already created in LX with only one field.
The SQL to recreate the scenario is the following:
CREATE TABLE Persons (
  ID int NOT NULL,
  PRIMARY KEY (ID));

CREATE TABLE Persons2 (
  ID2 int NOT NULL,
  PRIMARY KEY (ID2));

INSERT INTO Persons (ID) values (1);
INSERT INTO Persons (ID) values (2);
INSERT INTO Persons (ID) values (3);
INSERT INTO Persons (ID) values (4);
INSERT INTO Persons (ID) values (5);
INSERT INTO Persons (ID) values (6);
INSERT INTO Persons (ID) values (7);
INSERT INTO Persons (ID) values (8);
INSERT INTO Persons (ID) values (9);
INSERT INTO Persons (ID) values (10);
INSERT INTO Persons (ID) values (11);
INSERT INTO Persons (ID) values (12);

select * from Persons;
From the connectors → connection dashboard, choose Create job.
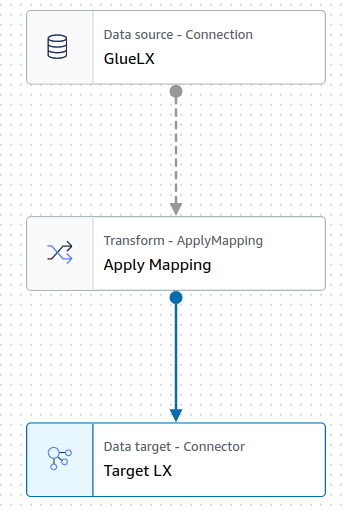
The visual representation of the job has the following structure:
1.6. Job Details
Time for configuring the Glue job:
-
IAM Role: Select here the role previously created with the right permissions (permission over the S3 JDBC driver).
-
For the rest options, we configure them as following.
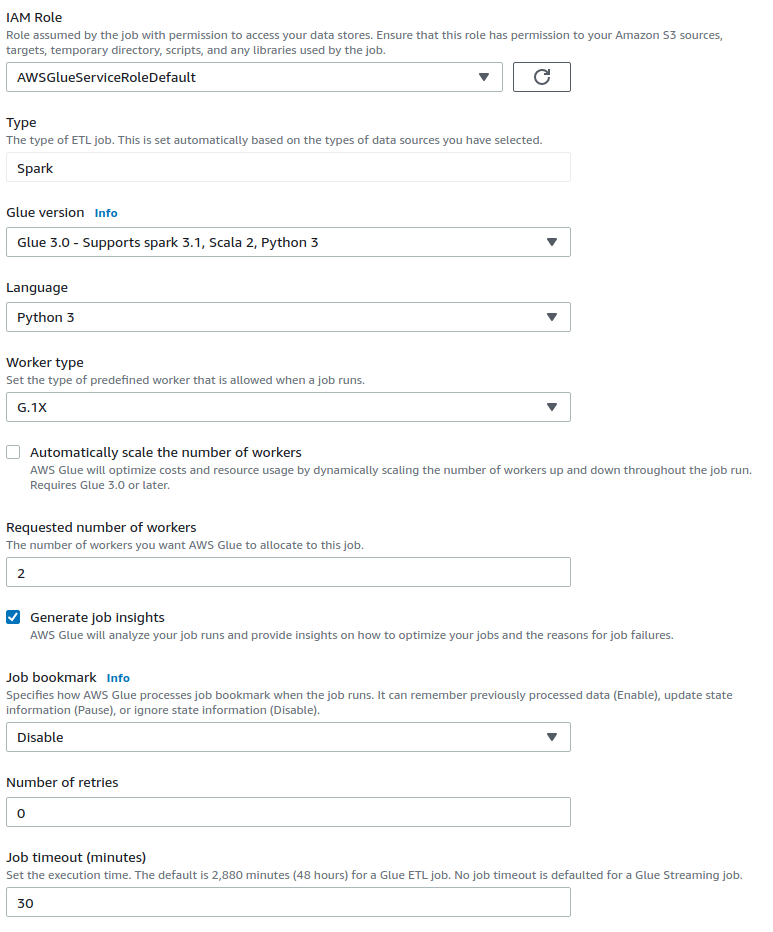
Execution congifuration can be adapted according to requirements. For this case, they are dimensioned for onyl a functional test.
Once the Job Details have been configured, we can go on and configure the different nodes on the job from the Visual panel.
1.7. Data source configuration
For the configuration of the data source, we add a source node and configure it as following.
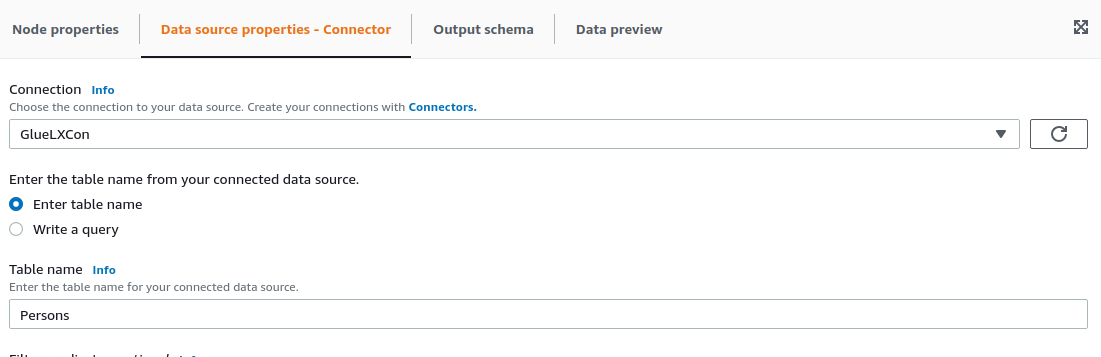
We could also select the write a query option and, for example, select all the fields from the table by using select * from Persons.
Also, you need to configure manually the schema the node outputs, as it will be used for the following nodes. In this case, it is just a single int field named ID.

We can add more fields to the output schema by clicking on add root key.
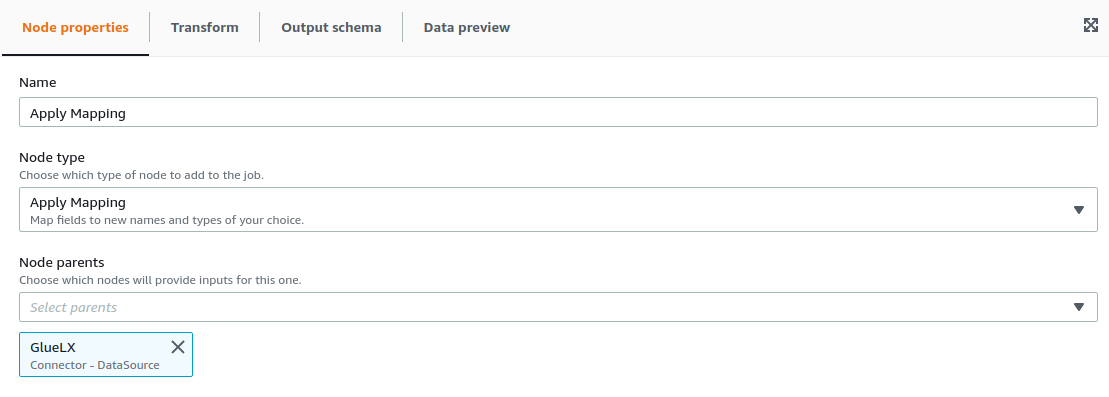
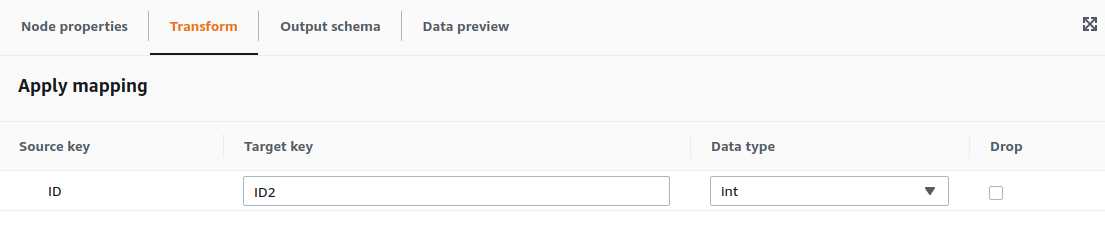
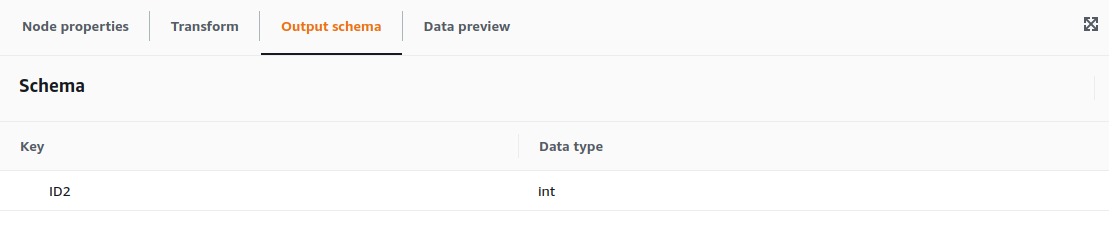
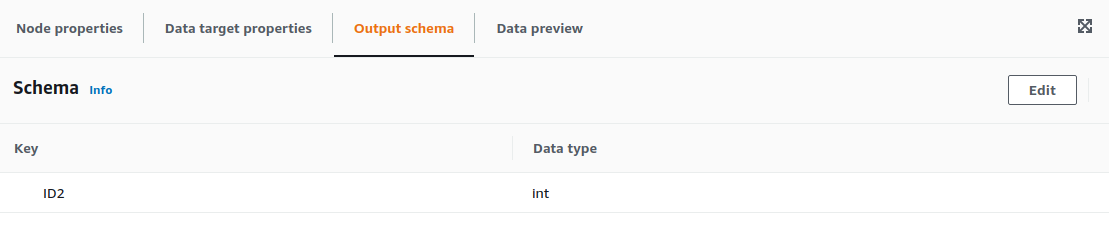
1.8. Mapping configuration
For the example, we are going to select the contents of Persons.ID and place them on Persons2.ID2. For configuring the Mapping transformation we only need the configure the parent node and the transformation required, as well as the output schema.
1.9. Data target configuration
For the data target, we choose to save the data back in LeanXcale in the Persons2 table, so the configuration would as follows:
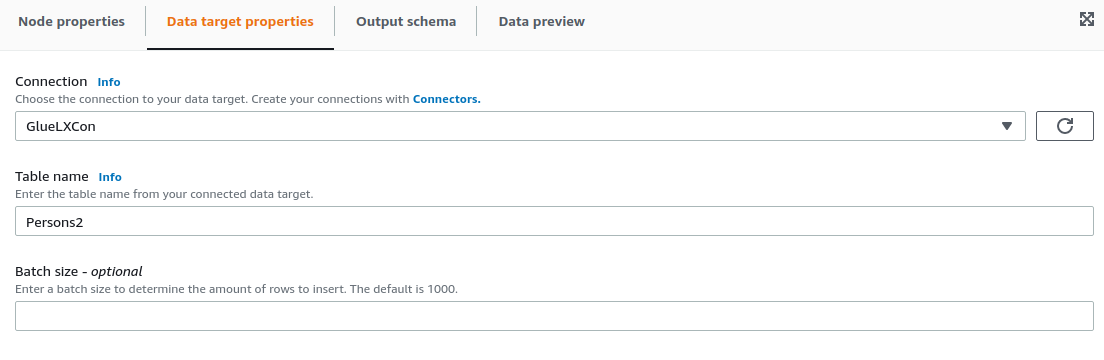
After this configuration we should be able to run the job and access the logs in the Runs panel and check in LeanXcale instance that the data is moved correctly.